电动工具类-农…

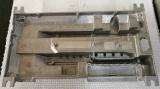
模具-其他零配…

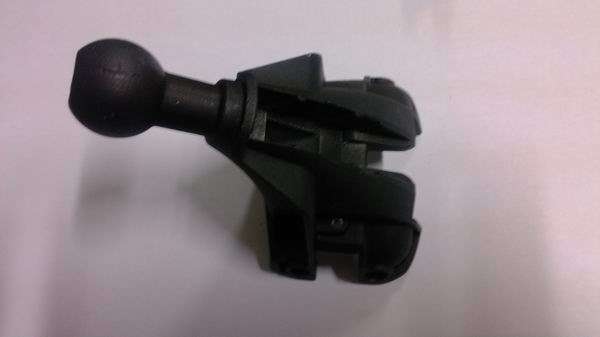
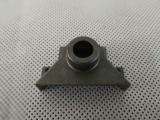
汽车类零部件
 生产设备
Production equipment
生产设备
Production equipment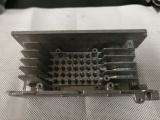
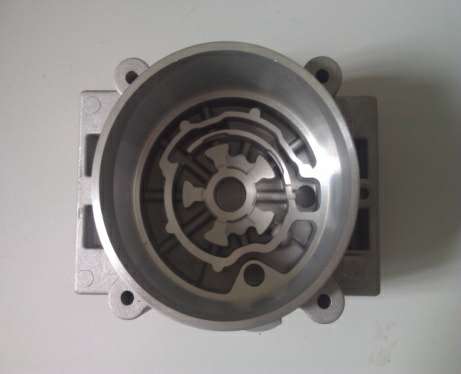
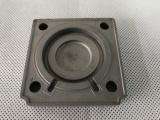
精加工件

精加工件
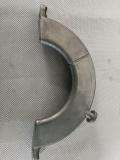
精加工件

精加工件
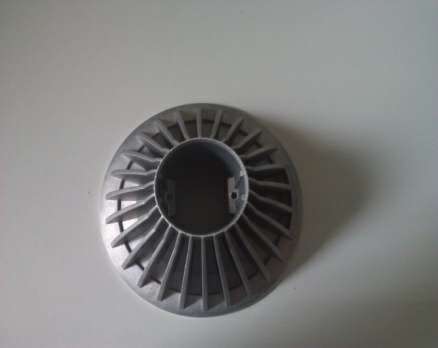
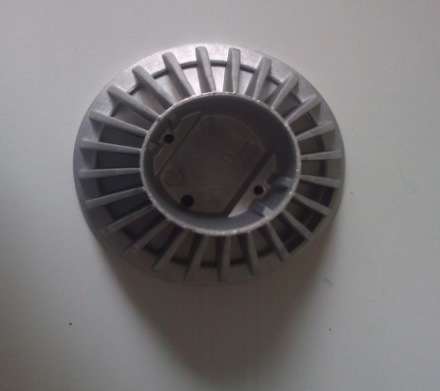
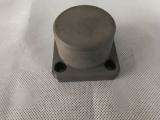
压铸件
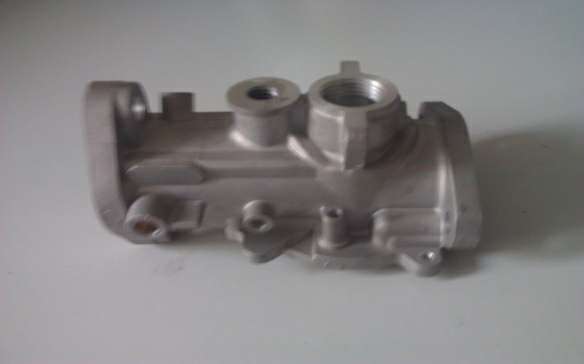
压铸件
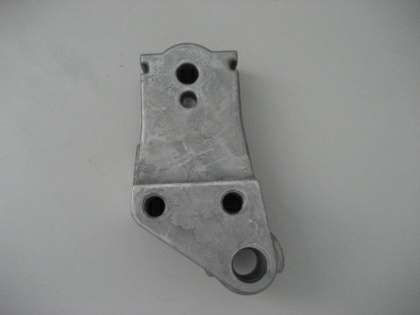
压铸件

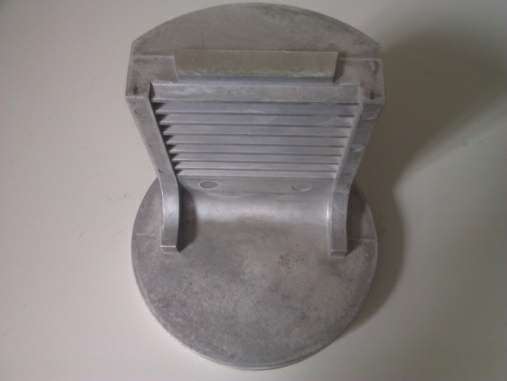
压铸件
压铸件